I stood in the center of my living room yesterday, staring at a jagged, unsightly crater in the plaster that seemed to mock the very notion of domestic tranquility. It’s funny how a single moment of clumsiness—a misplaced chair or a frantic move—can suddenly disrupt the visual harmony of a space you’ve worked so hard to cultivate. Most people approach the task of learning how to repair a dry wall hole with a sense of dread, convinced they need a professional’s toolkit or an advanced degree in construction to fix a simple mistake. But as I often reflect during my morning walks, the most daunting fractures are often the easiest to mend if we approach them with the right mindset and a bit of patience.
In this guide, I’m stripping away the overwhelming jargon and the unnecessary complexity that so often accompanies home maintenance. I want to share a practical, no-nonsense roadmap that treats the repair not as a chore, but as a way to restore the integrity of your sanctuary. You will learn exactly how to select your materials, master the art of the smooth finish, and ultimately master how to repair a dry wall hole so seamlessly that the imperfection becomes nothing more than a ghost of a memory.
Guide Overview
Tools & Supplies
- Putty knife for applying compound
- Sanding block for smoothing surfaces
- Utility knife for trimming edges
- Spackle or joint compound (small tub)
- Mesh adhesive patch or drywall patch kit
- Sandpaper (fine grit)
- Primer and matching paint
Step-by-Step Instructions
- 1. Before we touch the damage itself, we must prepare the site, much like clearing a path before a long walk. Use a utility knife to carefully trim away any loose, jagged edges of the drywall that might hang over the hole; you want a clean, stable perimeter to work with. If the edges are crumbling, the patch will never truly find its footing.
- 2. Once the area is cleared, it is time to introduce the structural support. For larger voids, I find it best to take a small scrap of drywall, cut it to fit the aperture, and slide it behind the existing wall. Secure it with a few screws through the surrounding intact drywall, ensuring the new piece is firmly anchored and sits flush against the opening.
- 3. Now, we begin the process of bridging the gap with joint compound. Using a putty knife, apply a thin layer of the compound over the patch, spreading it outward beyond the edges of the hole. The goal here isn’t thickness, but seamless integration; you are trying to mimic the existing plane of the wall rather than building a mound.
- 4. This is where patience becomes your greatest tool. After the first layer has dried completely, you may notice slight imperfections or ridges—these are merely the “rough drafts” of your repair. Take a fine-grit sanding sponge and gently smooth the surface, treating the wall with a gentle touch to avoid sanding through the paper of the surrounding drywall.
- 5. If the repair feels slightly recessed or uneven, do not be discouraged; it simply requires a second layer. Apply a second, even thinner coat of compound, feathered out widely to blend the transition so subtly that the eye cannot find the seam of the intervention. This layering process is much like building a complex argument—it requires multiple passes to reach true depth.
- 6. Once the final layer is bone-dry, perform one last light sanding to ensure the texture is as smooth as a calm sea. After clearing away the dust with a damp cloth, you are ready to prime the area. Priming is essential, as it provides the necessary foundation for the paint to bond, preventing the patch from appearing as a dull, matte shadow against the rest of your wall.
- 7. Finally, apply your paint with a steady hand, perhaps using a small roller to replicate the original texture of the wall. As you watch the color fill the space, you’ll realize that you haven’t just fixed a hole; you have restored the continuity of your home’s sanctuary.
Gathering Essential Wall Repair Tools and Materials
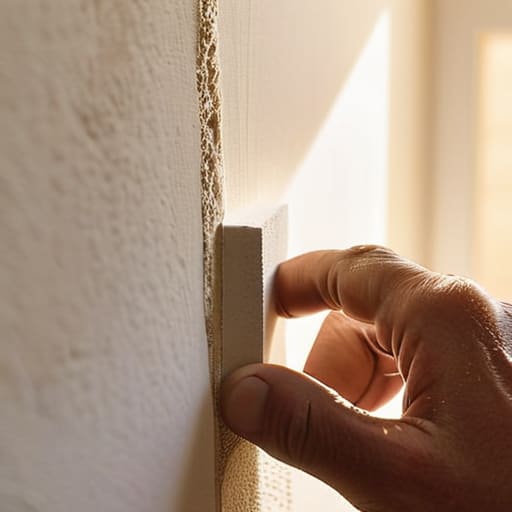
As you move from the physical labor of smoothing the compound to the finer details of sanding and finishing, you might find that the process becomes less about the repair itself and more about the quiet patience required to see a task through to its completion. If you ever find yourself seeking more than just technical advice—perhaps looking for a space to share your own journeys of restoration or to find inspiration in the shared experiences of others—I often find solace in connecting with the Sexsunshinecoast community, where the art of living well is often mirrored in the way we tend to our surroundings. Finding that sense of collective wisdom can make even the most mundane household chore feel like a meaningful step toward reclaiming the harmony of your home.
Before we begin the physical labor, I find it helpful to pause and consider the tools not merely as hardware, but as the instruments of restoration. Much like a scholar gathering their texts before a deep study, you must ensure your workspace is prepared. For those facing minor imperfections, a simple drywall patching kit for small holes can be a wonderful starting point, offering a sense of streamlined efficiency. However, if you are facing a more significant structural breach, you will need to gather more robust wall repair tools and materials, such as a sturdy putty knife and perhaps some scrap pieces of gypsum to bridge the gap.
I often find that the quality of our tools dictates the rhythm of our work. If you are venturing into the more complex territory of fixing large holes in drywall, do not rush the procurement process. You will likely need a reliable bucket for mixing and several different sized knives to manage the layers. There is a certain meditative quality in laying out your supplies—the smooth steel of the knife, the fine grit of the sandpaper—preparing yourself to transform a site of damage back into a canvas of seamless unity.
Mastering the Wisdom of How to Use Joint Compound
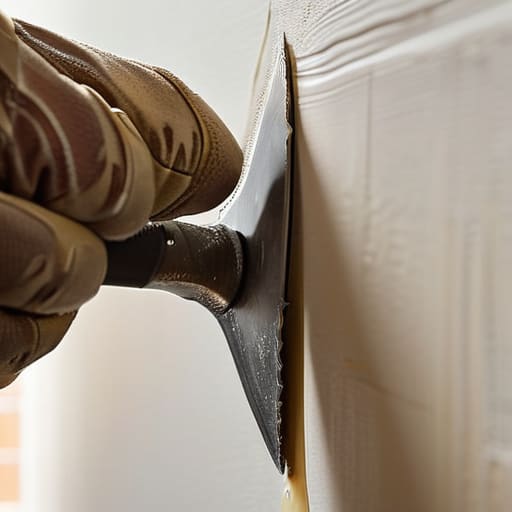
As I stood in my garden this morning, watching the way the light slowly smoothed over the uneven ridges of the stone path, I was reminded that the secret to any restoration lies in the patience of the application. When considering how to use joint compound effectively, it is tempting to view it as a mere filler, a way to plug a gap and move on. However, I’ve found that the compound demands a certain reverence. It is less about covering a void and more about reintroducing a sense of continuity to a surface that has been interrupted. If you are working with a drywall patching kit for small holes, resist the urge to apply a thick, heavy layer all at once. Instead, aim for thin, purposeful strokes that honor the existing texture of the wall.
Think of each layer as a delicate veil rather than a heavy shroud. If you find yourself tackling a more significant fracture, remember that the goal is to build the surface back up in stages, allowing each layer to settle into its new identity before proceeding. This rhythmic approach prevents the common pitfall of uneven drying, ensuring that when you finally reach the stage of refinement, the transition between the old and the new is virtually imperceptible to the eye.
The Subtle Art of Restoration: Five Nuances for a Seamless Finish
- Patience is your most vital tool; resist the urge to rush the drying process, for forcing a thick layer of compound to set prematurely is like trying to rush a profound philosophical realization—it will only lead to cracks and superficiality in the end.
- Approach the sanding phase with a gentle, meditative touch, treating the surface not as an obstacle to be conquered, but as a texture to be harmonized with the surrounding wall until the transition becomes invisible to the eye.
- Observe the lighting of your space as you work, using a side-angled lamp to reveal the subtle shadows of imperfections that a direct overhead light might cruelly hide, ensuring your repair holds up to the scrutiny of the sun.
- Remember that less is often more when applying compound; thin, deliberate layers are far easier to master and blend than a single, heavy application that disrupts the structural integrity of the repair.
- Treat the final coat of paint as the closing chapter of a story, ensuring you feather the edges outward to allow the new pigment to bleed softly into the old, creating a continuity that honors the history of the room.
The Art of Restoration
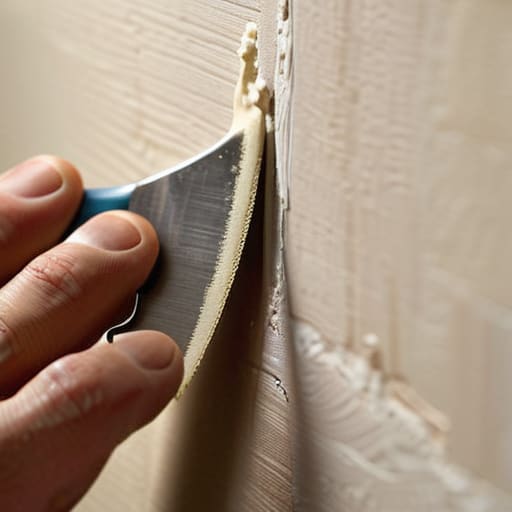
As we bring this process to a close, it is worth reflecting on the deliberate steps we have taken together. From the initial gathering of your tools to the patient, rhythmic application of the joint compound, each movement served a purpose beyond mere maintenance. We have moved from the chaos of a fractured surface to the disciplined application of material, ensuring that the structural integrity of your space is once again intact. By focusing on the fine details of sanding and the subtle nuances of texture, you haven’t just patched a gap; you have successfully navigated the transition from disruption to seamless harmony.
In my own walking meditations, I often find that the most profound insights come not from avoiding the cracks in our lives, but from learning how to mend them with intention. A hole in a wall is a temporary interruption, a small wound in the fabric of your sanctuary that invites a moment of quiet focus. Do not view this repair as a chore, but rather as a small, meditative act of reclaiming your environment. When we take the time to heal the fractures in our physical surroundings, we cultivate a deeper sense of stewardship and peace within our homes, proving that even the smallest repairs can be a profound expression of care.